Generating Docker images
See the topics given below.
Before you begin
- Install Docker from the Docker Site.
- Create a Docker Account at Docker Hub and log in.
- Start the Docker server.
Generate the Docker image
-
Right-click the Composite Application Project in the project explorer and then click Generate Docker Image.

-
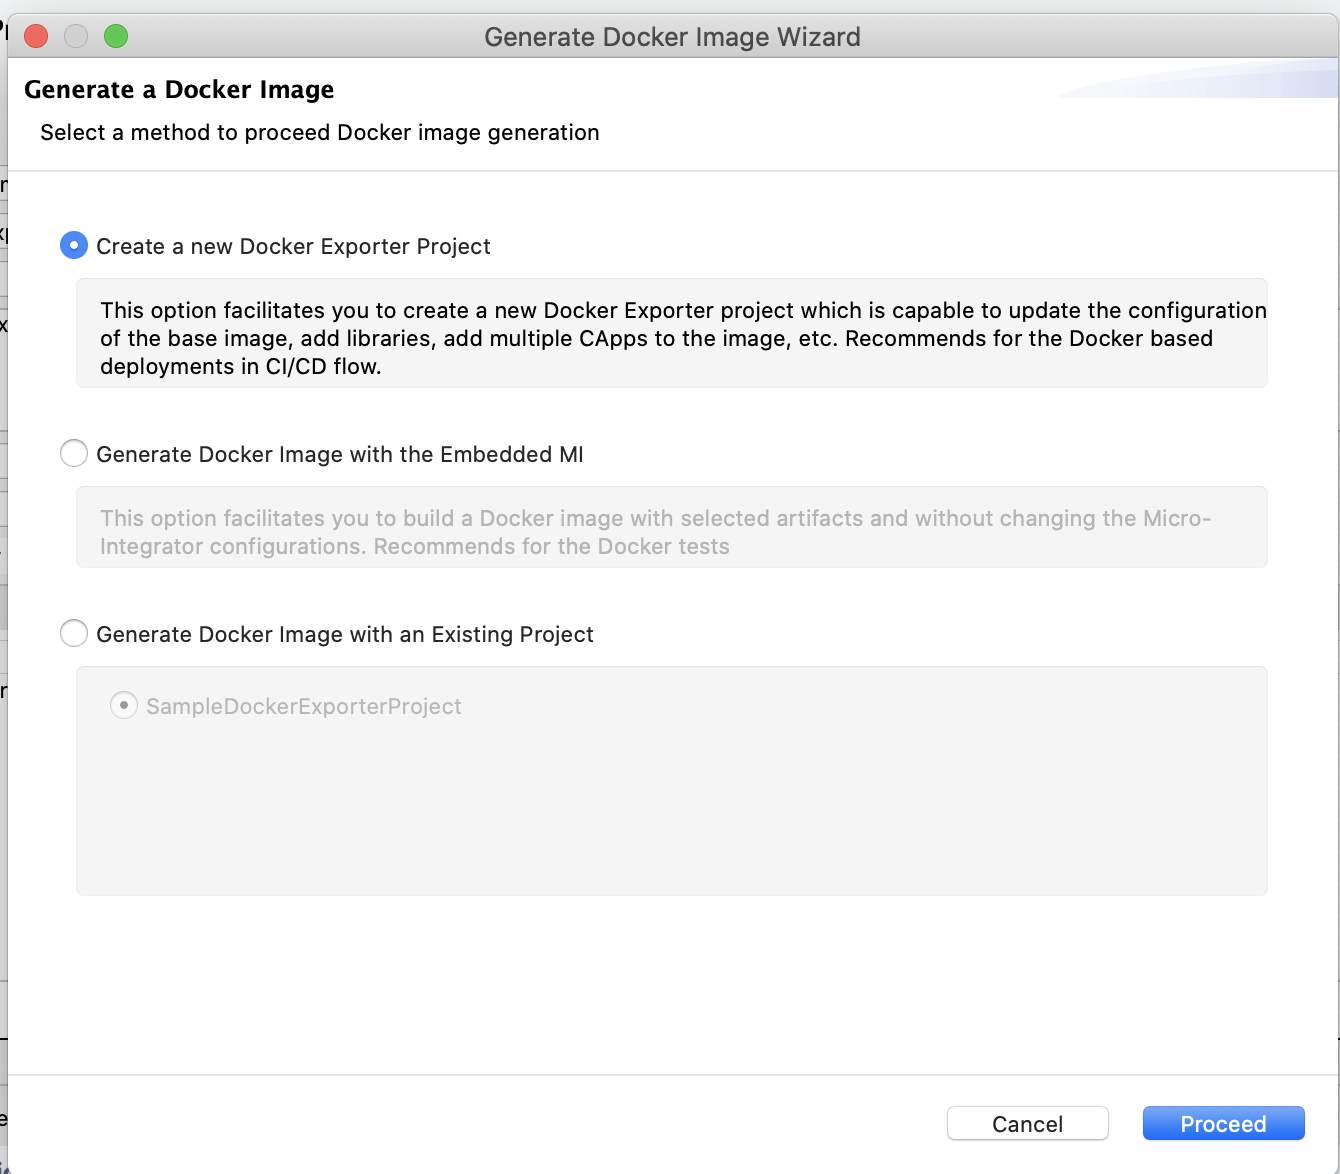
In the Generate Docker Image Wizard that opens, select one from the following three options and proceed.

-
Create a new Docker Exporter Project
Select this option to create a new Docker Exporter Project and click Proceed. You can build a docker image using this Docker Exporter Project. You are now directed to the [Docker Exporter Project wizard](create-docker-project.
-
Generate Docker Image with the Embedded MI
-
Select this option to generate a Docker image with the embedded Micro Integrator runtime of Integration studio.
Note
This is recommended only for testing.
-
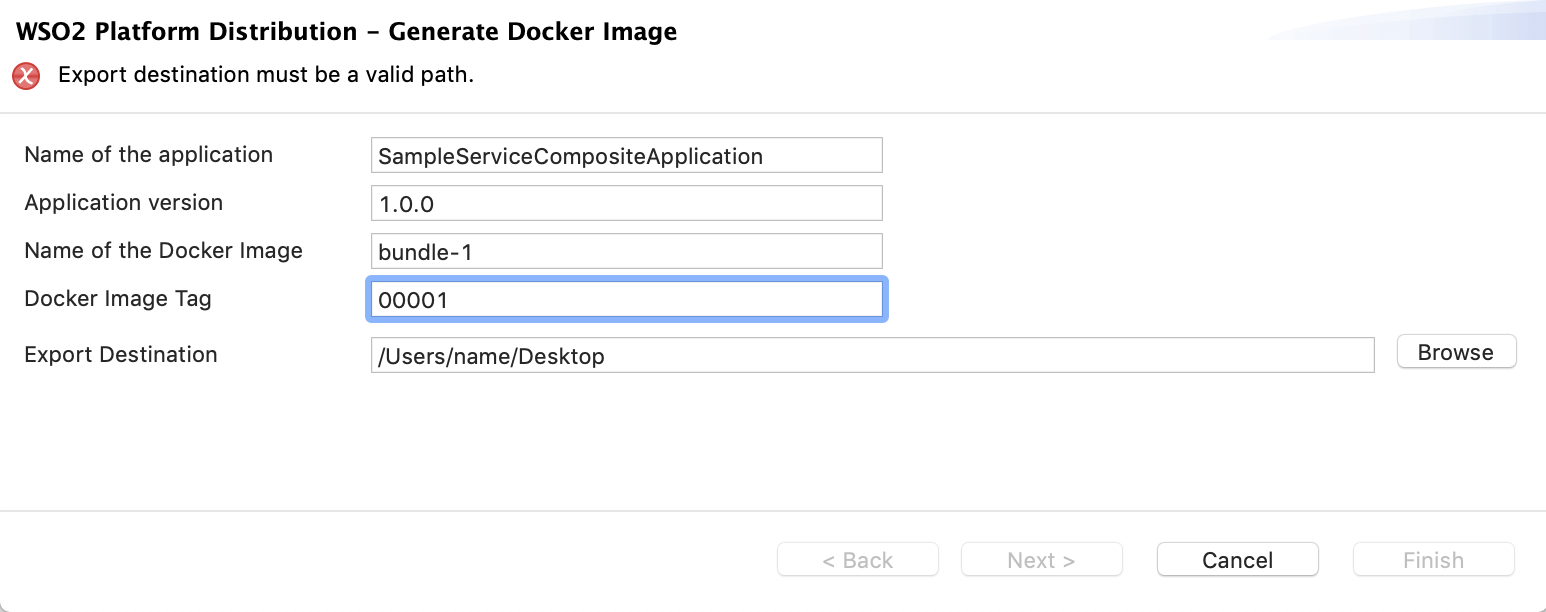
Click Next and enter the following details:

Parameter Description Name of the Application The name of the composite application with the artifacts created for your ESB project. The name of the ESB project is displayed by default, but it can be changed if required. Application Version The version of the composite application. Name of the Docker Image Give a name for the Docker image. Docker Image Tag A tag for the Docker image to be used for reference. This is optional. Export Destination Browse for the preferred location in your machine to export the Docker image. -
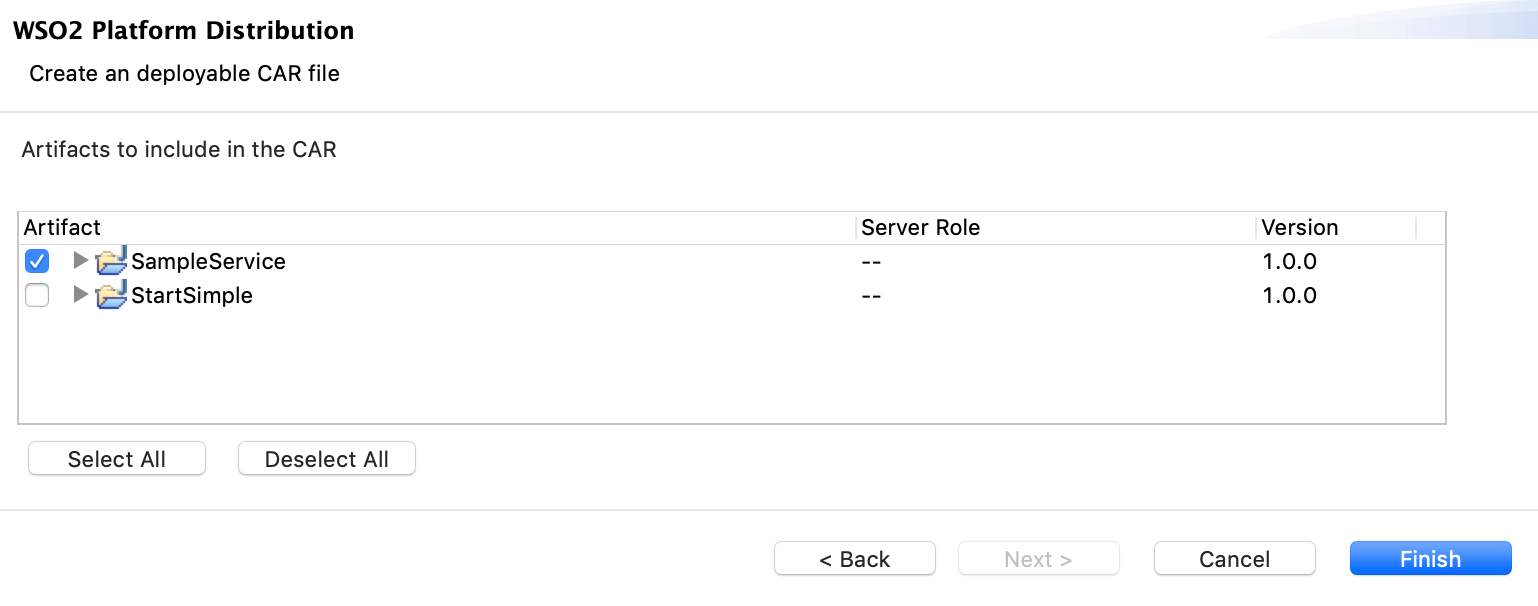
Click Next. Select the Config projects that you want to include in the Docker image and click Finish.

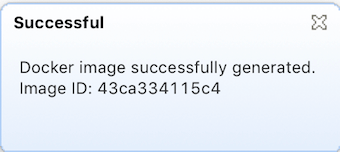
Once the Docker image is successfully created, a message similar to the following appears in your screen.

-
-
Generate Docker Image with an Existing Project
This will use the existing Docker Exporter Project that you selected and create a Docker image. You will receive a message similar to the following:

-