Scenario 3 - Implementing an API
This is a tutorial that is part of a series and can be used as a standalone tutorial on how to implement the API. For more details on the scenario and general prerequisites, please see the scenario overview page.
Time to Complete : 8 minutes
User Story
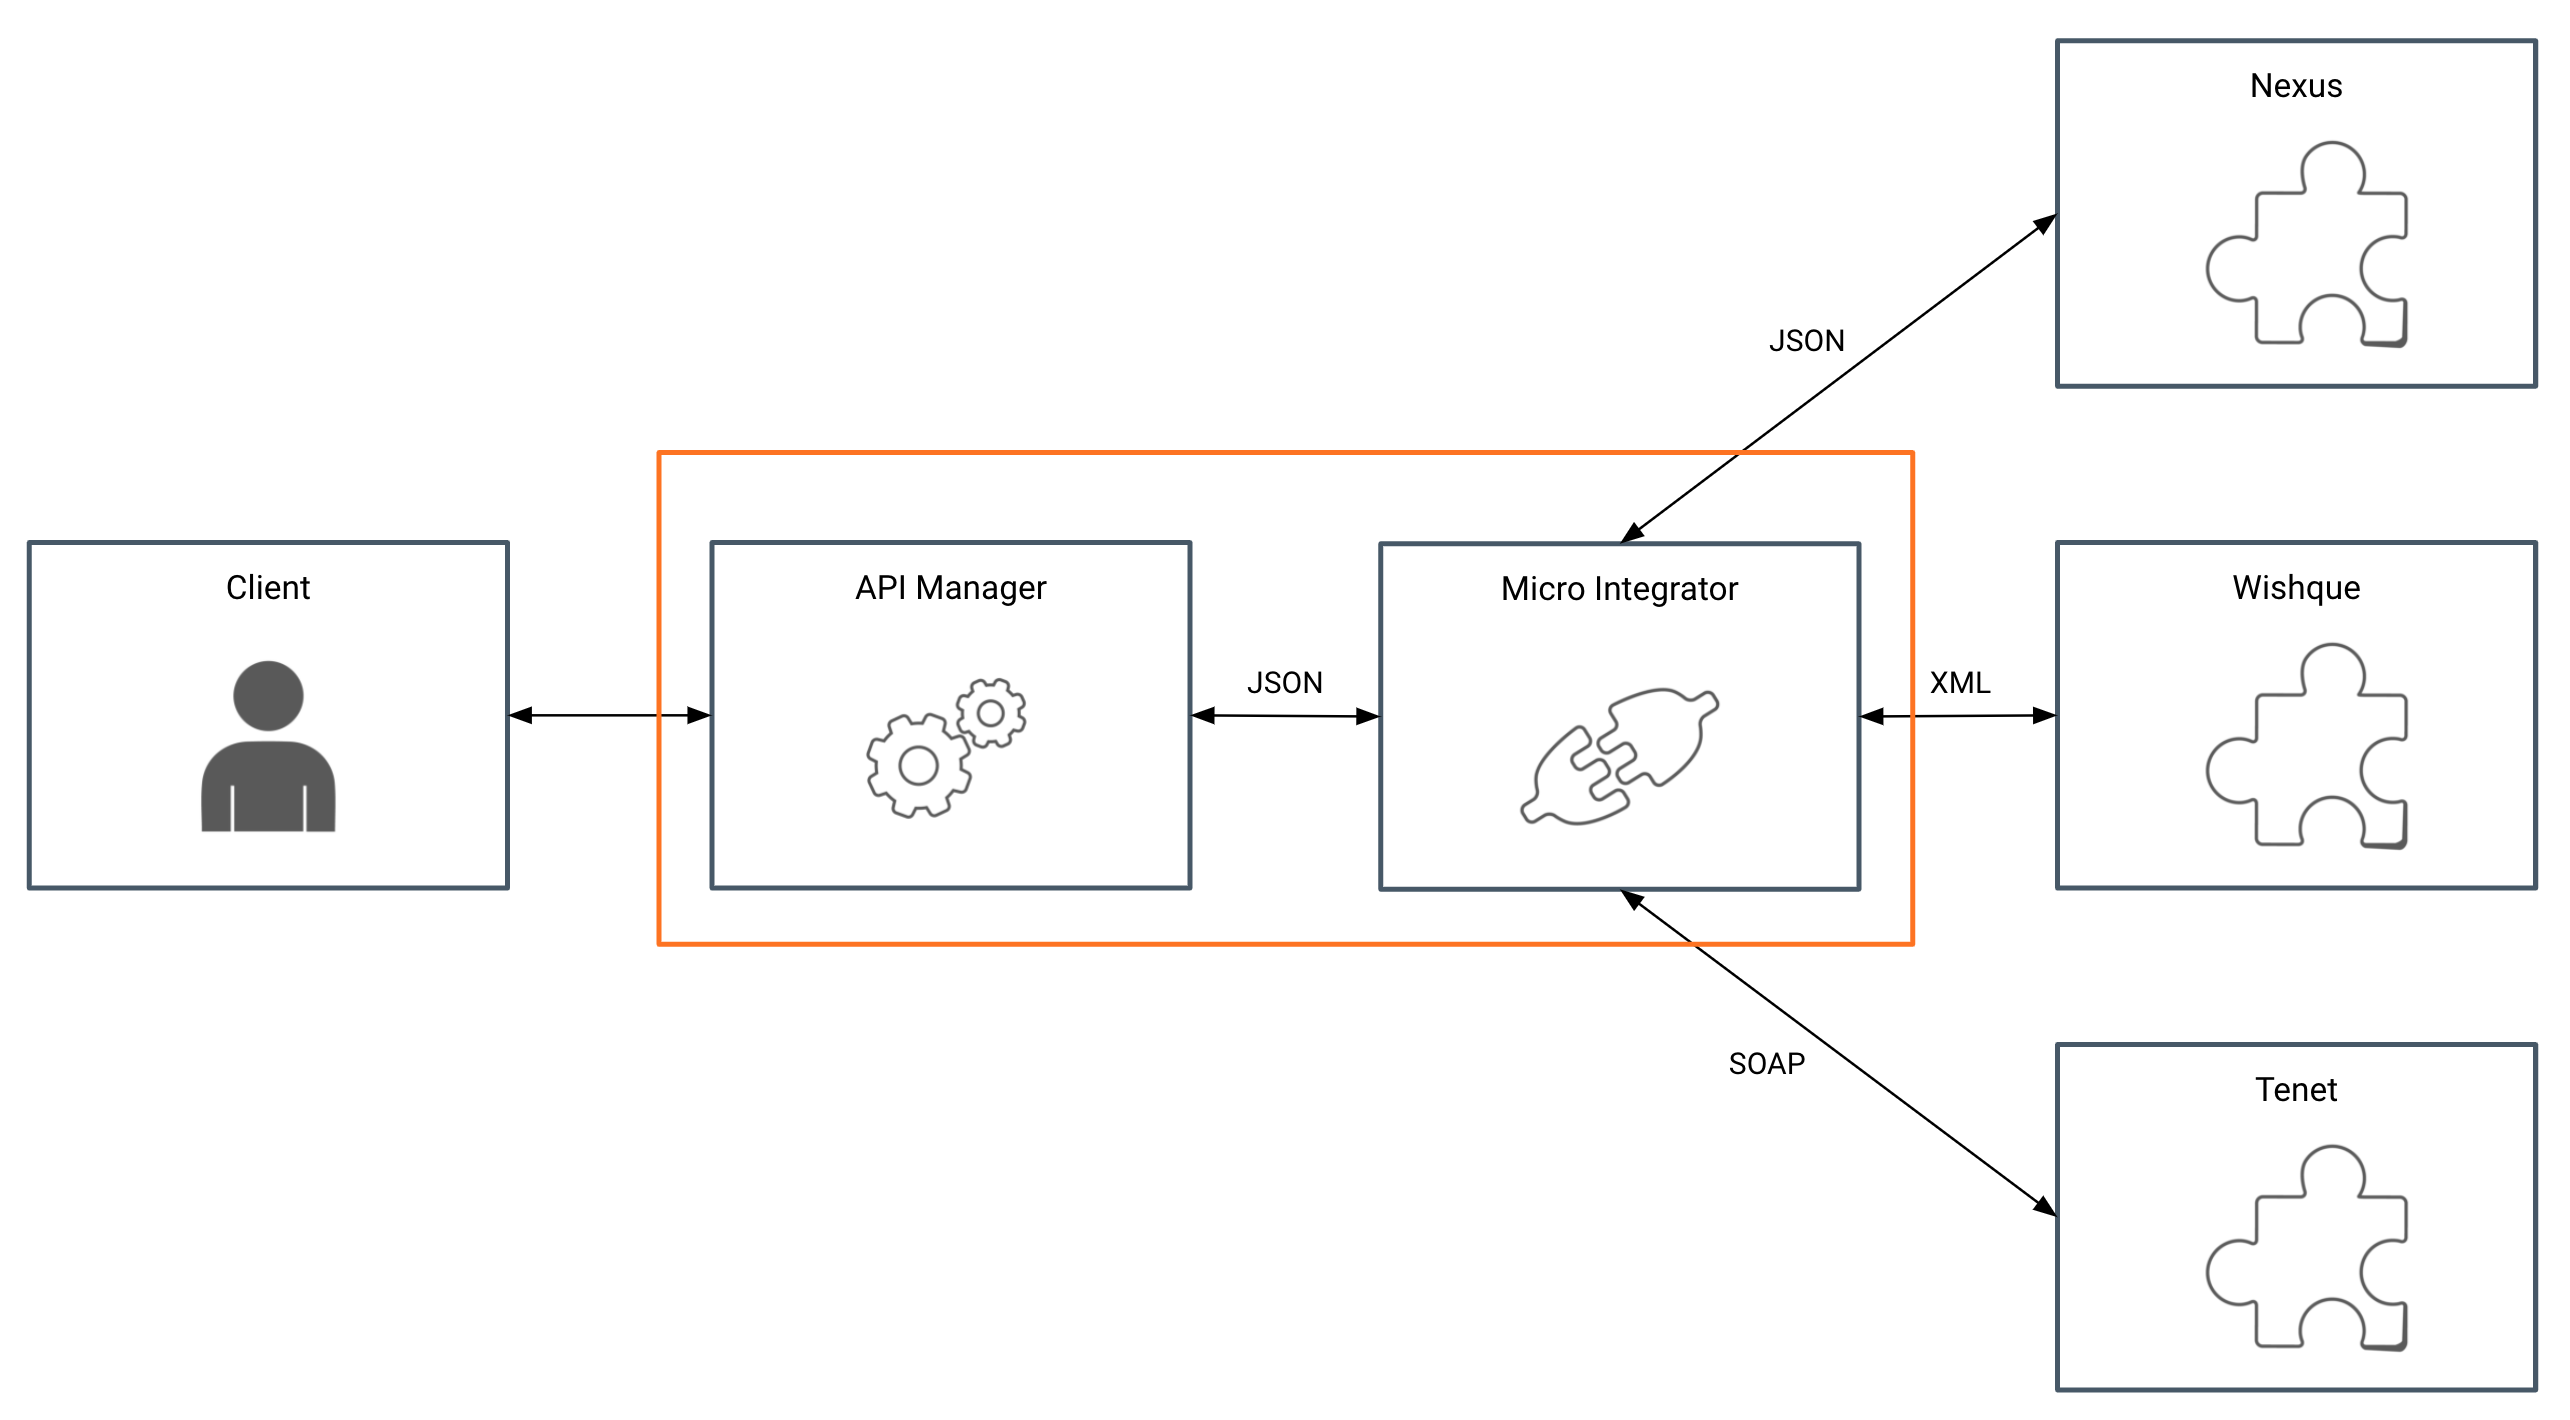
RailCo has a partnership with Telecom companies to sell their train tickets as value added services. Currently RailCo has partnerships with three such companies (Nexus, Wishque, and Tenet). RailCo has a requirement to gather the stats of bookings on a daily basis from these companies. All 3 companies are exposing this data but they are exposing it in different formats. RailCo wants to develop a service that aggregates all this data and exposes it as a single API. They first decided to create their own backend to call each of these APIs internally and write the logic to consume each service to generate the required outcome. However, they quickly understood the complexity of development tasks they have to undergo. For example, each of these external services use different protocols and message formats. This would require special skills for their development teams and would increase the maintenance overhead as well. RailCo identified that using MWARE ESB and ESB Micro Integrator, they could do this integration in no time and expose the API with additional QoS features.
There are three different sample backends implemented that provide the metrics in different formats. When you invoke them directly, you can view metrics related to one Telecom company.
curl -X GET 'http://localhost:8082/telecom-rest-service/nexus/v1/metrics'
With Micro Integrator and Integration Studio, you can implement the business logic to call these three backends, aggregate the response, and present it to the client as one response.

Step 1: Create a service using Micro Integrator
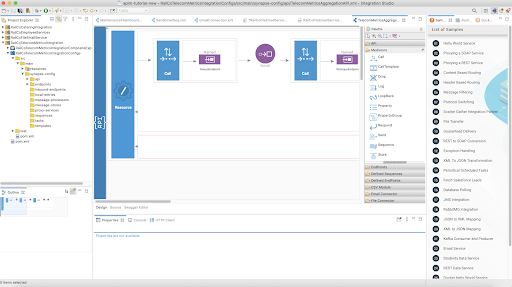
To develop a service in Micro Integrator, you need to use Integration Studio. While developing you can try it out in the Embedded Micro Integrator inside the Studio. Once the development is complete you can export it as a Compose Application and add it to the Micro Integrator runtime.

Here, for simplicity, the service is already created and exported as a Composite Application and added to the Micro Integrator instance in the tutorial setup. You can test the Micro Integrator service by invoking it directly.
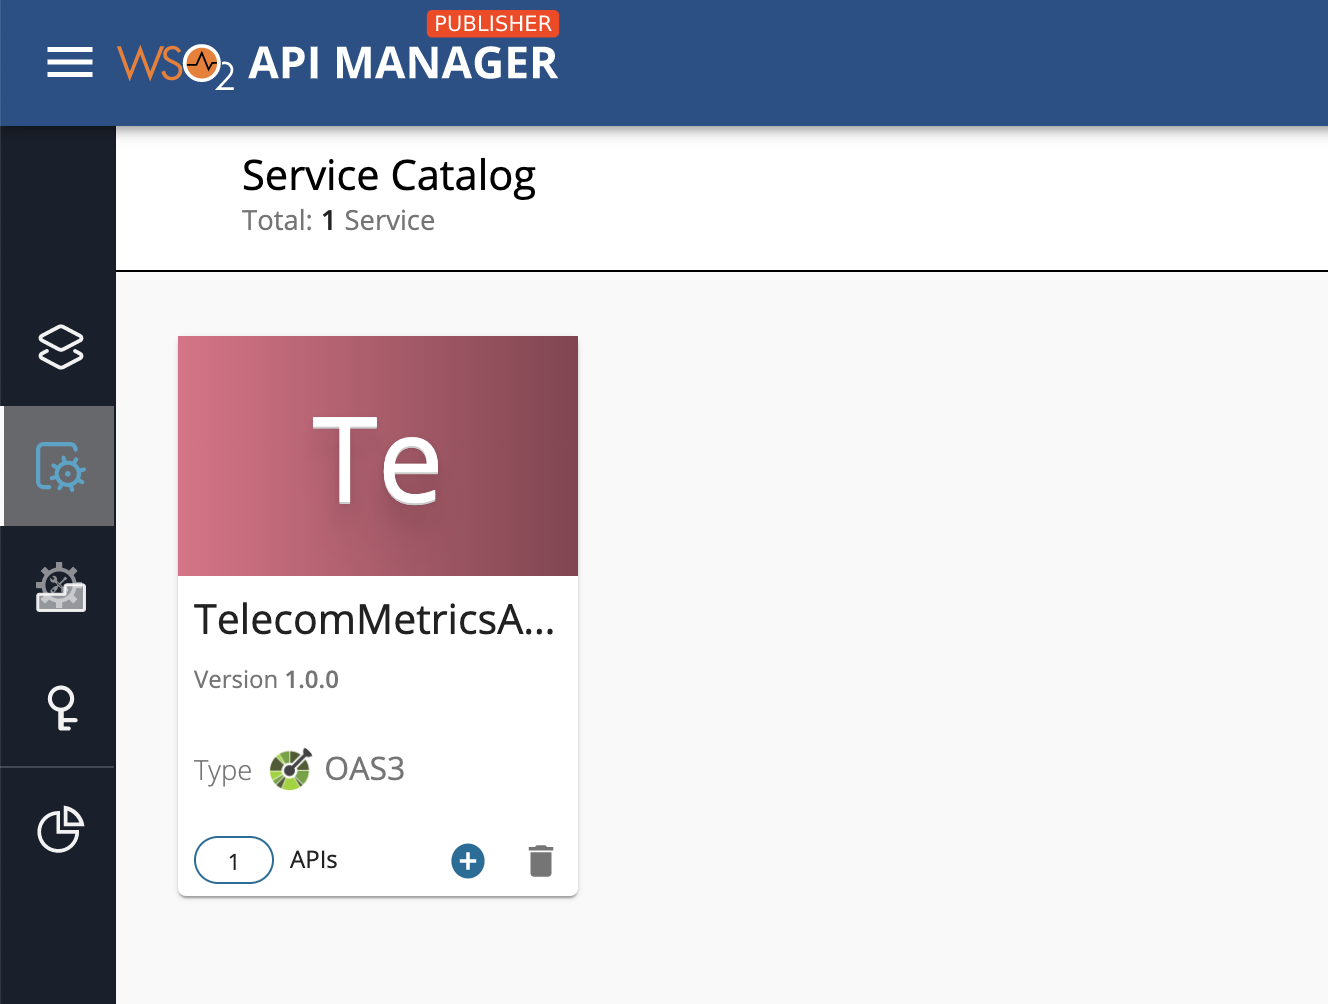
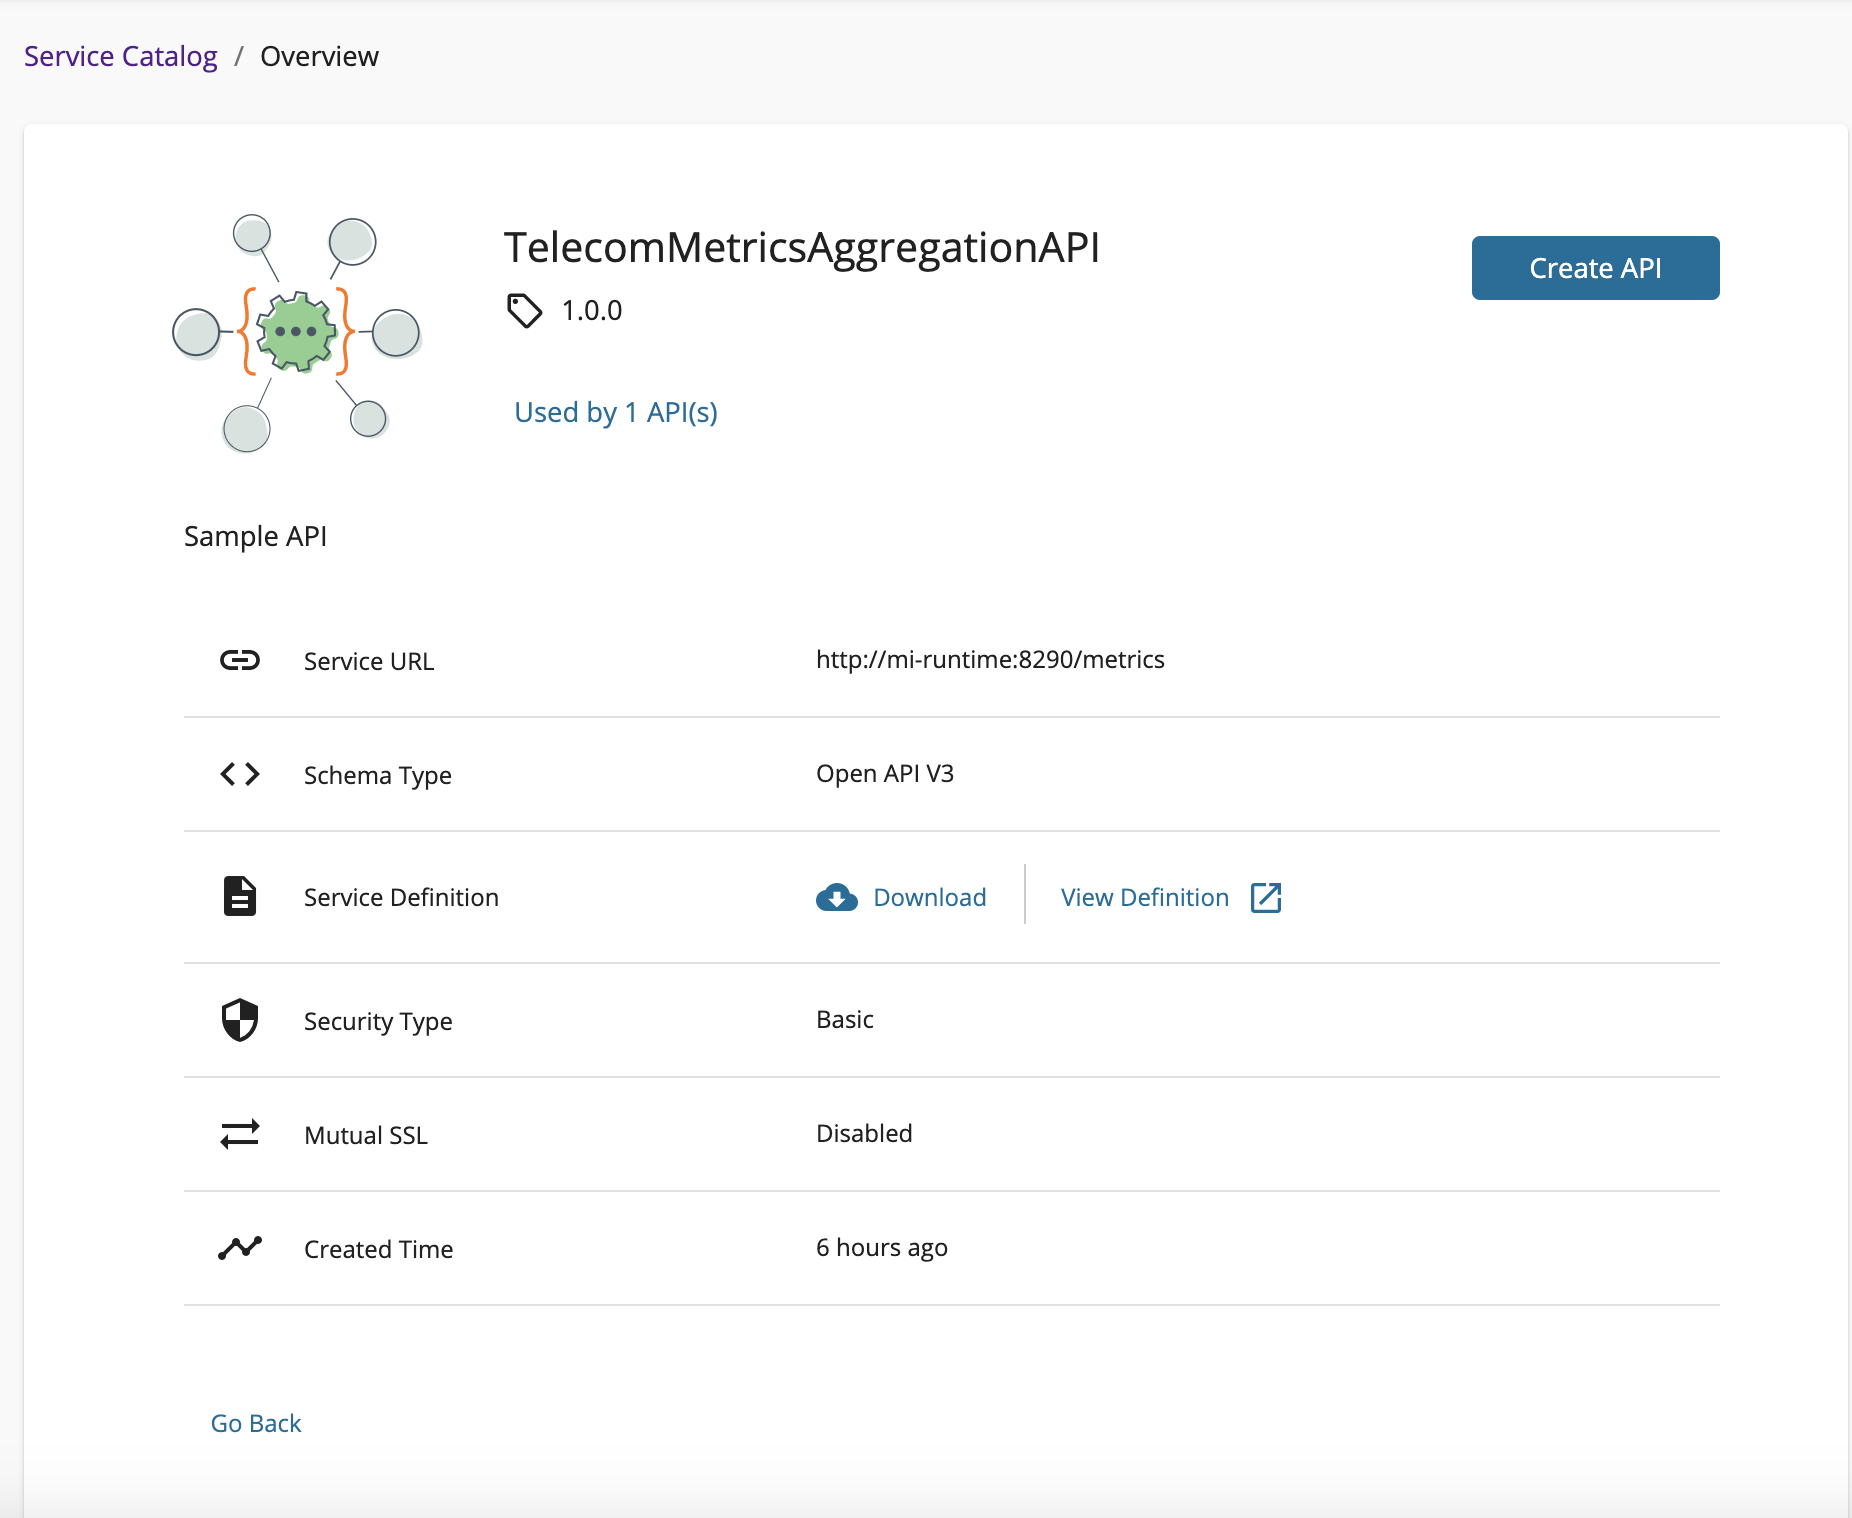
curl -X GET 'http://localhost:8290/metrics' If the service catalog is enabled in Micro Integrator, it will automatically push the API artifacts, Swagger definition to the ESB during startup, which you can view in the ESB Service Catalog.
To enable the service catalog, uncomment the following section in the Dockerfile found inside <REPO_HOME>/dockerfiles/micro-integrator/.
COPY deployment.toml ${WSO2_SERVER_HOME}/conf/
This will add the new config file to setup. To apply the config, restart the Micro Integrator by running the following command. This will restart the Micro Integrator container.
docker-compose up -d --build mi-runtime
Once started, you can observe the following log in Micro Integrator.
{ServiceCatalogUtils} - Successfully updated the service catalog
You can view the API entry in the ESB by visiting the following URL. Log on as jill@railco.com.
https://localhost:9443/publisher/service-catalog


Step 2: View the API in the Developer Portal
In this setup, the API is already deployed from the Publisher and you can view it in the Developer Portal.
- Go to https://localhost:9443/devportal/ Developer Portal and select RailCo tenant domain. This will redirect you to RailCo’s Developer Portal.
- Sign in with a RailCo tenant, Developer Portal user. Use user as
tom@railco.comand password asuser123. - Click on TelecomMetricsAPI and go to Subscribe tab and subscribe using the Default application and generate the access token.
-
Once you generate an access token, you can try out the following Curl Request.
curl -k -X GET 'https://localhost:8243/t/railco.com/operations/bookings/1.0.0/' \
--header 'Accept: application/json' \
--header 'Authorization: Bearer <Access Token>'
What's next
Try out the next scenario in the series, Signing up a New User.
Top