Create a Custom Policy
Choreo Connect Custom Policies allow reusing existing policy definitions to create your own policies with predefined values. They can be created either as common policies or as API specific policies.
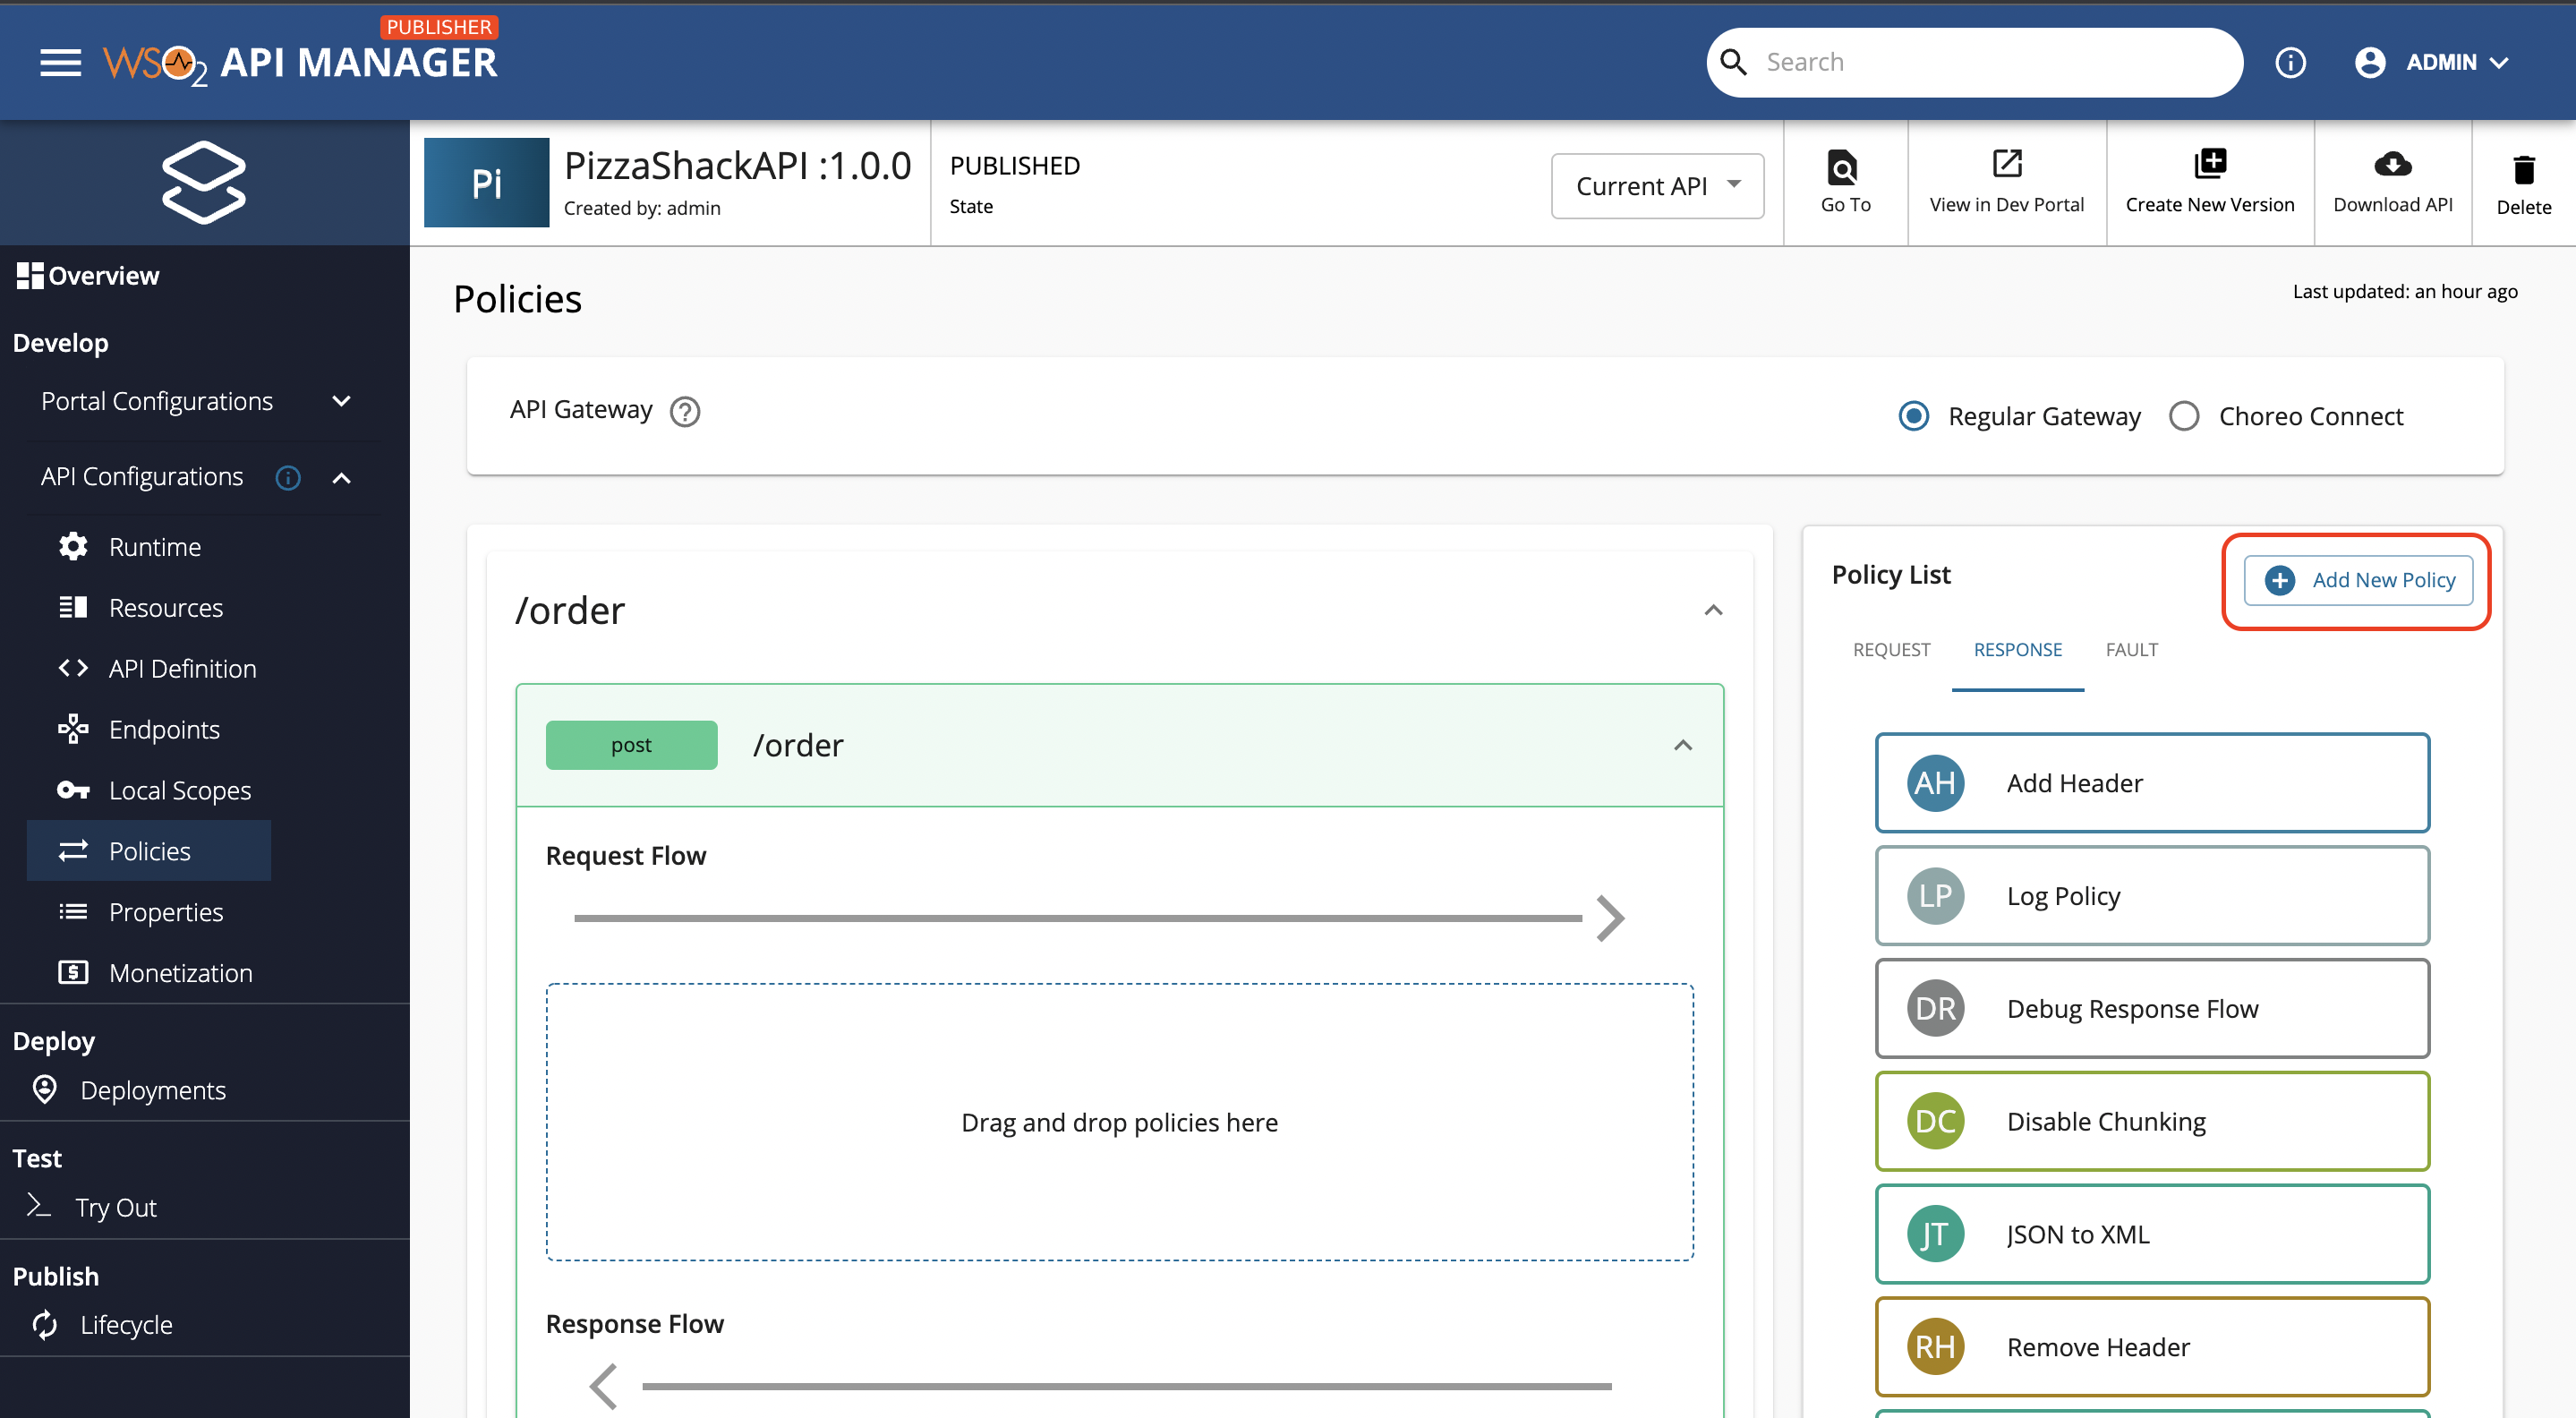
Button to add a common policy
Button to add a API specific policy
Choreo Connect supports the following policies, and the policy templates for them are shipped with MWARE ESB by default. When creating a custom policy, you can use the action name and the parameters given below. A parameter can either be an existing template or a specific value.
Note
Choreo Connect policy definitions are in the .gotmpl file extension. Its content type is YAML and is templated with go templates.
| Action Name | Parameters | Applicable Flows | Description |
|---|---|---|---|
| SET_HEADER |
|
Request Response | Set a header in the request flow or response flow. |
| REMOVE_HEADER |
|
Request Response | Remove a header in the request flow or response flow. |
| ADD_QUERY |
|
Request | Add a query param in the request flow. |
| REWRITE_RESOURCE_METHOD |
|
Request | Change the HTTP method of a resource in the request flow. |
| REWRITE_RESOURCE_PATH |
|
Request | Rewrite the resource path in the request flow. |
| CALL_INTERCEPTOR_SERVICE |
|
Request Response | Call an interceptor service in request or response flow. For more information, visit Message Mediation. |
| OPA |
|
Request | Validate the request against the Open Policy Agent server. |
Sample 1 - Custom Call Interceptor Policy
Let's create a new policy using the action CALL_INTERCEPTOR_SERVICE. The following is the content of the default call interceptor policy definition that comes by default with the distribution. You can download the default call interceptor service policy from the Publisher Portal.
definition:
 action: CALL_INTERCEPTOR_SERVICE
 parameters:
   interceptorServiceURL: {{ .interceptorServiceURL }}
   includes: {{ .includes }}
Say you have an interceptor service that converts XML payload to JSON with the server URL https://xml-to-json-interceptor:8443, let's create a policy named XML to JSON Call Interceptor. Learn more about Choreo Connect interceptors on Message Transformation. Since you only need the request and response payload, you can specify includes as request_body,response_body.
Let's create the policy definition xmlToJsonCallInterceptor.gotmpl with the following content.
definition:
 action: CALL_INTERCEPTOR_SERVICE
 parameters:
   interceptorServiceURL: https://xml-to-json-interceptor:8443
   includes: request_body,response_body
You can create the policy specification for this policy as follows. Since there are no templated attributes in the policy definition, you can keep policyAttributes in the spec as an empty array.
Sample 2 - Custom OPA Policy
Let's create a new policy with the action OPA. The following is the content of the default OPA policy definition that comes by default with the destribution opaPolicy.gotmpl.
definition:
  action: OPA
  parameters:
    requestGenerator: ""
    serverURL: {{ .serverUrl }}
    {{- if .accessKey }}
    accessKey: {{ .accessKey }}
    {{- end }}
    policy: {{ .policy }}
    rule: {{ .rule }}
    {{- if .sendAccessToken }}
    sendAccessToken: {{ .sendAccessToken }}
    {{- end }}
    {{- if .additionalProperties }}
    additionalProperties: {{ .additionalProperties }}
    {{- end }}
    {{- if .maxOpenConnections }}
    maxOpenConnections: {{ .maxOpenConnections }}
    {{- end }}
    {{- if .maxPerRoute }}
    maxPerRoute: {{ .maxPerRoute }}
    {{- end }}
    {{- if .connectionTimeout }}
    connectionTimeout: {{ .connectionTimeout }}
    {{- end }}
Note
You can create a custom request generator and define it in the parameter requestGenerator. For a detailed description on creating a custom request generator, visit Custom OPA Policy for Choreo Connect.
Let's say we want to validate requests with a OPA server that is used to validate a set of APIs centrally. Let's create a custom policy with name centralOpaPolicy.
Let's create the definition file. We can have default values added to the parameters of the action “OPA”.
definition:
  action: OPA
  parameters:
    requestGenerator: ""
    serverURL: https://central-opa:8181
    accessKey: ""
    policy: {{ .myPolicy }}
    rule: {{ .myRule }}
    sendAccessToken: true
    additionalProperties: ""
    maxOpenConnections: 10
    maxPerRoute: 5
    connectionTimeout: 30
You can now define the policy spec and since you have templated myPolicy and myRule, you should include those in the policy spec. The following is the sample spec for the above policy definition.
{
 "category": "Security",
 "name": "opaPolicy",
 "displayName": "Validate Request With OPA Policy",
 "description": "With this policy, user can validate requests based on the OPA policy engine",
 "policyAttributes": [
   {
     "name": "myPolicy",
     "displayName": "Policy",
     "description": "Policy to be validated",
     "type": "String",
     "required": true
   },
   {
     "name": "myRule",
     "displayName": "Rule",
     "description": "Rule to validate",
     "type": "String",
     "defaultValue": "allow",
     "required": true
   }
 ],
 "applicableFlows": [
   "request"
 ],
 "supportedGateways": [
   "Synapse",
   "ChoreoConnect"
 ],
 "supportedApiTypes": [
   "HTTP"
 ]
}
You can upload the created custom policy from the MWARE ESB Publisher Portal as a custom or API-specific policy and attach it to an API resource.
Top

