Internal Key Authentication
This authentication can be used to test APIs that are created in the ESB Publisher right after deploying the API and even before publishing. An Internal Key can be generated from the ESB Publisher Try Out page and can be used for both of the modes given below.
- Choreo Connect is run with ESB as the Control Plane
- Choreo Connect is run as a standalone Gateway and APIM Publisher is set as a token service
Step 1 - Create and deploy an API to Choreo Connect via ESB
Follow the instructions in the guide Deploying a REST API in Choreo Connect.
Step 2 - Generate an Internal Key from API-M Publisher
-
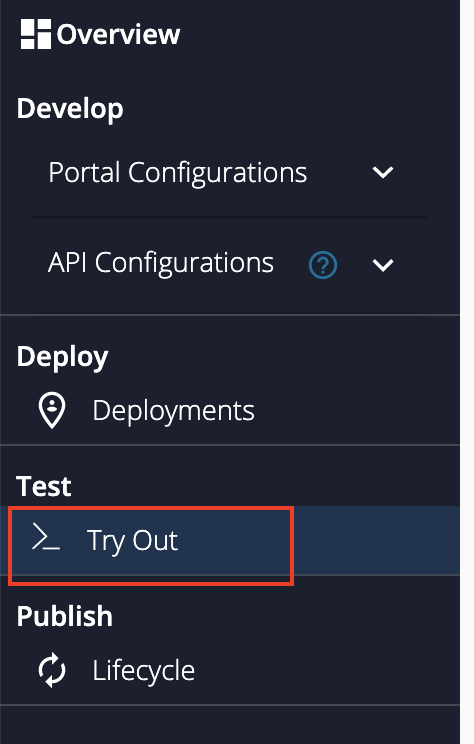
Navigate to Try Out from the left menu bar in API-M Publisher.
-
In the Try Out page, you will find an Internal Key that has already been generated for you. You can click the button Generate Key whenever you need a new token.
Important
This token must be included in the header
Internal-Keywhen invoking the API. The header name used for Internal Key can be updated using the following config.[enforcer.security.authHeader] testConsoleHeaderName = "Internal-Key-New"Info
The Internal key is also a JWT and has the
token_typeasInternalKeyin its payload. This value is refered during validation in Choreo Connect to identify Internal Keys.
Step 3 - Invoke the API using the Internal Key
Use the cURL command below to invoke the API via the gateway.
curl -k -X GET "<API_URL>" -H "accept: application/json" -H "Internal-Key: <Internal-Key>"curl -k -X GET "https://localhost:9095/pizzashack/1.0.0/menu" -H "accept: application/json" -H "Internal-Key: eyJraWQiOiJnYXRld2F5X2NlcnRpZmljYXRlX2FsaWFzIiwiYWxnIjoiUlMyNTYifQ.eyJzdWIiOiJhZG1pbkBjYXJib24uc3VwZXIiLCJpc3MiOiJodHRwczpcL1wvYXBpbTo5NDQzXC9vYXV0aDJcL3Rva2VuIiwia2V5dHlwZSI6IlBST0RVQ1RJT04iLCJzdWJzY3JpYmVkQVBJcyI6W3sic3Vic2NyaWJlclRlbmFudERvbWFpbiI6bnVsbCwibmFtZSI6IlBpenphU2hhY2tBUEkiLCJjb250ZXh0IjoiXC9waXp6YXNoYWNrXC8xLjAuMCIsInB1Ymxpc2hlciI6ImFkbWluIiwidmVyc2lvbiI6IjEuMC4wIiwic3Vic2NyaXB0aW9uVGllciI6bnVsbH1dLCJleHAiOjE2MTgwMDkyMDcsInRva2VuX3R5cGUiOiJJbnRlcm5hbEtleSIsImlhdCI6MTYxNzk0OTIwNywianRpIjoiNDZmMDJjNTgtM2Y0My00YTVhLWEyMjYtMGNhNzM5NmM0NjRjIn0.J-AtbYeVyrFCSXD99DXtND7GsRv1ghuzWJ1XYa3ZA4QRmdJYqCUEo3G2Xy1x5shopp9GZHi6G6wmpiYf-n4rNMNNrCt8O8ogp8EzjWb3cLrbyRDCMYQocEBeefDDB6_62PUHBMQNNXdxbOe38KfY0J_kH_IIGYGqKQEqHUCn8B84dX8ec-HefjqzL9NXti4VIx1_Donhpwtk3J5ERyJdvFRfsXfQFZZVxUZao0em4jJ9sOcbMNQA0FpRzCgx5TMZ6RNC5TBAi_QqO1SysD7jShJ5rw0Eqztn4y3_zr_aE1P3H7xAzl3niWUyzXOZWnuJQPn2C_hBDHKQ--FtViuyrg"Important
If the APIM publisher uses certificate with different alias name, add the alias name for certificateAlias Configuration in below configuration define at config.toml.
[[security.enforcer.tokenService]]
name="APIM Publisher"
issuer = "https://localhost:9443/publisher"
certificateAlias = ""
certificateFilePath = "/home/wso2/security/truststore/wso2carbon.pem"
